🎵 Showcase your kid’s musical talent and win up to $1,000 in prize value!Enter Now
80
($44.50 value)

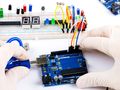
Arduino Coding Part 3: Using Electronic Actuators in Engineering Projects
Ages 13-17
Live Group Course

Average rating:
4.9
Number of reviews:(158 reviews)
Live video meetings
2x per week, 5 weeks
1-10 learners per class
55 min
Overview

Live Group Course
Meet over live video meetings10 live meetings
9 hrs 10 mins in-class hoursCertificate of Completion
includedClass Experience
Intermediate Level
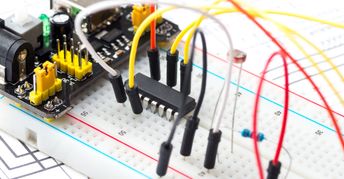
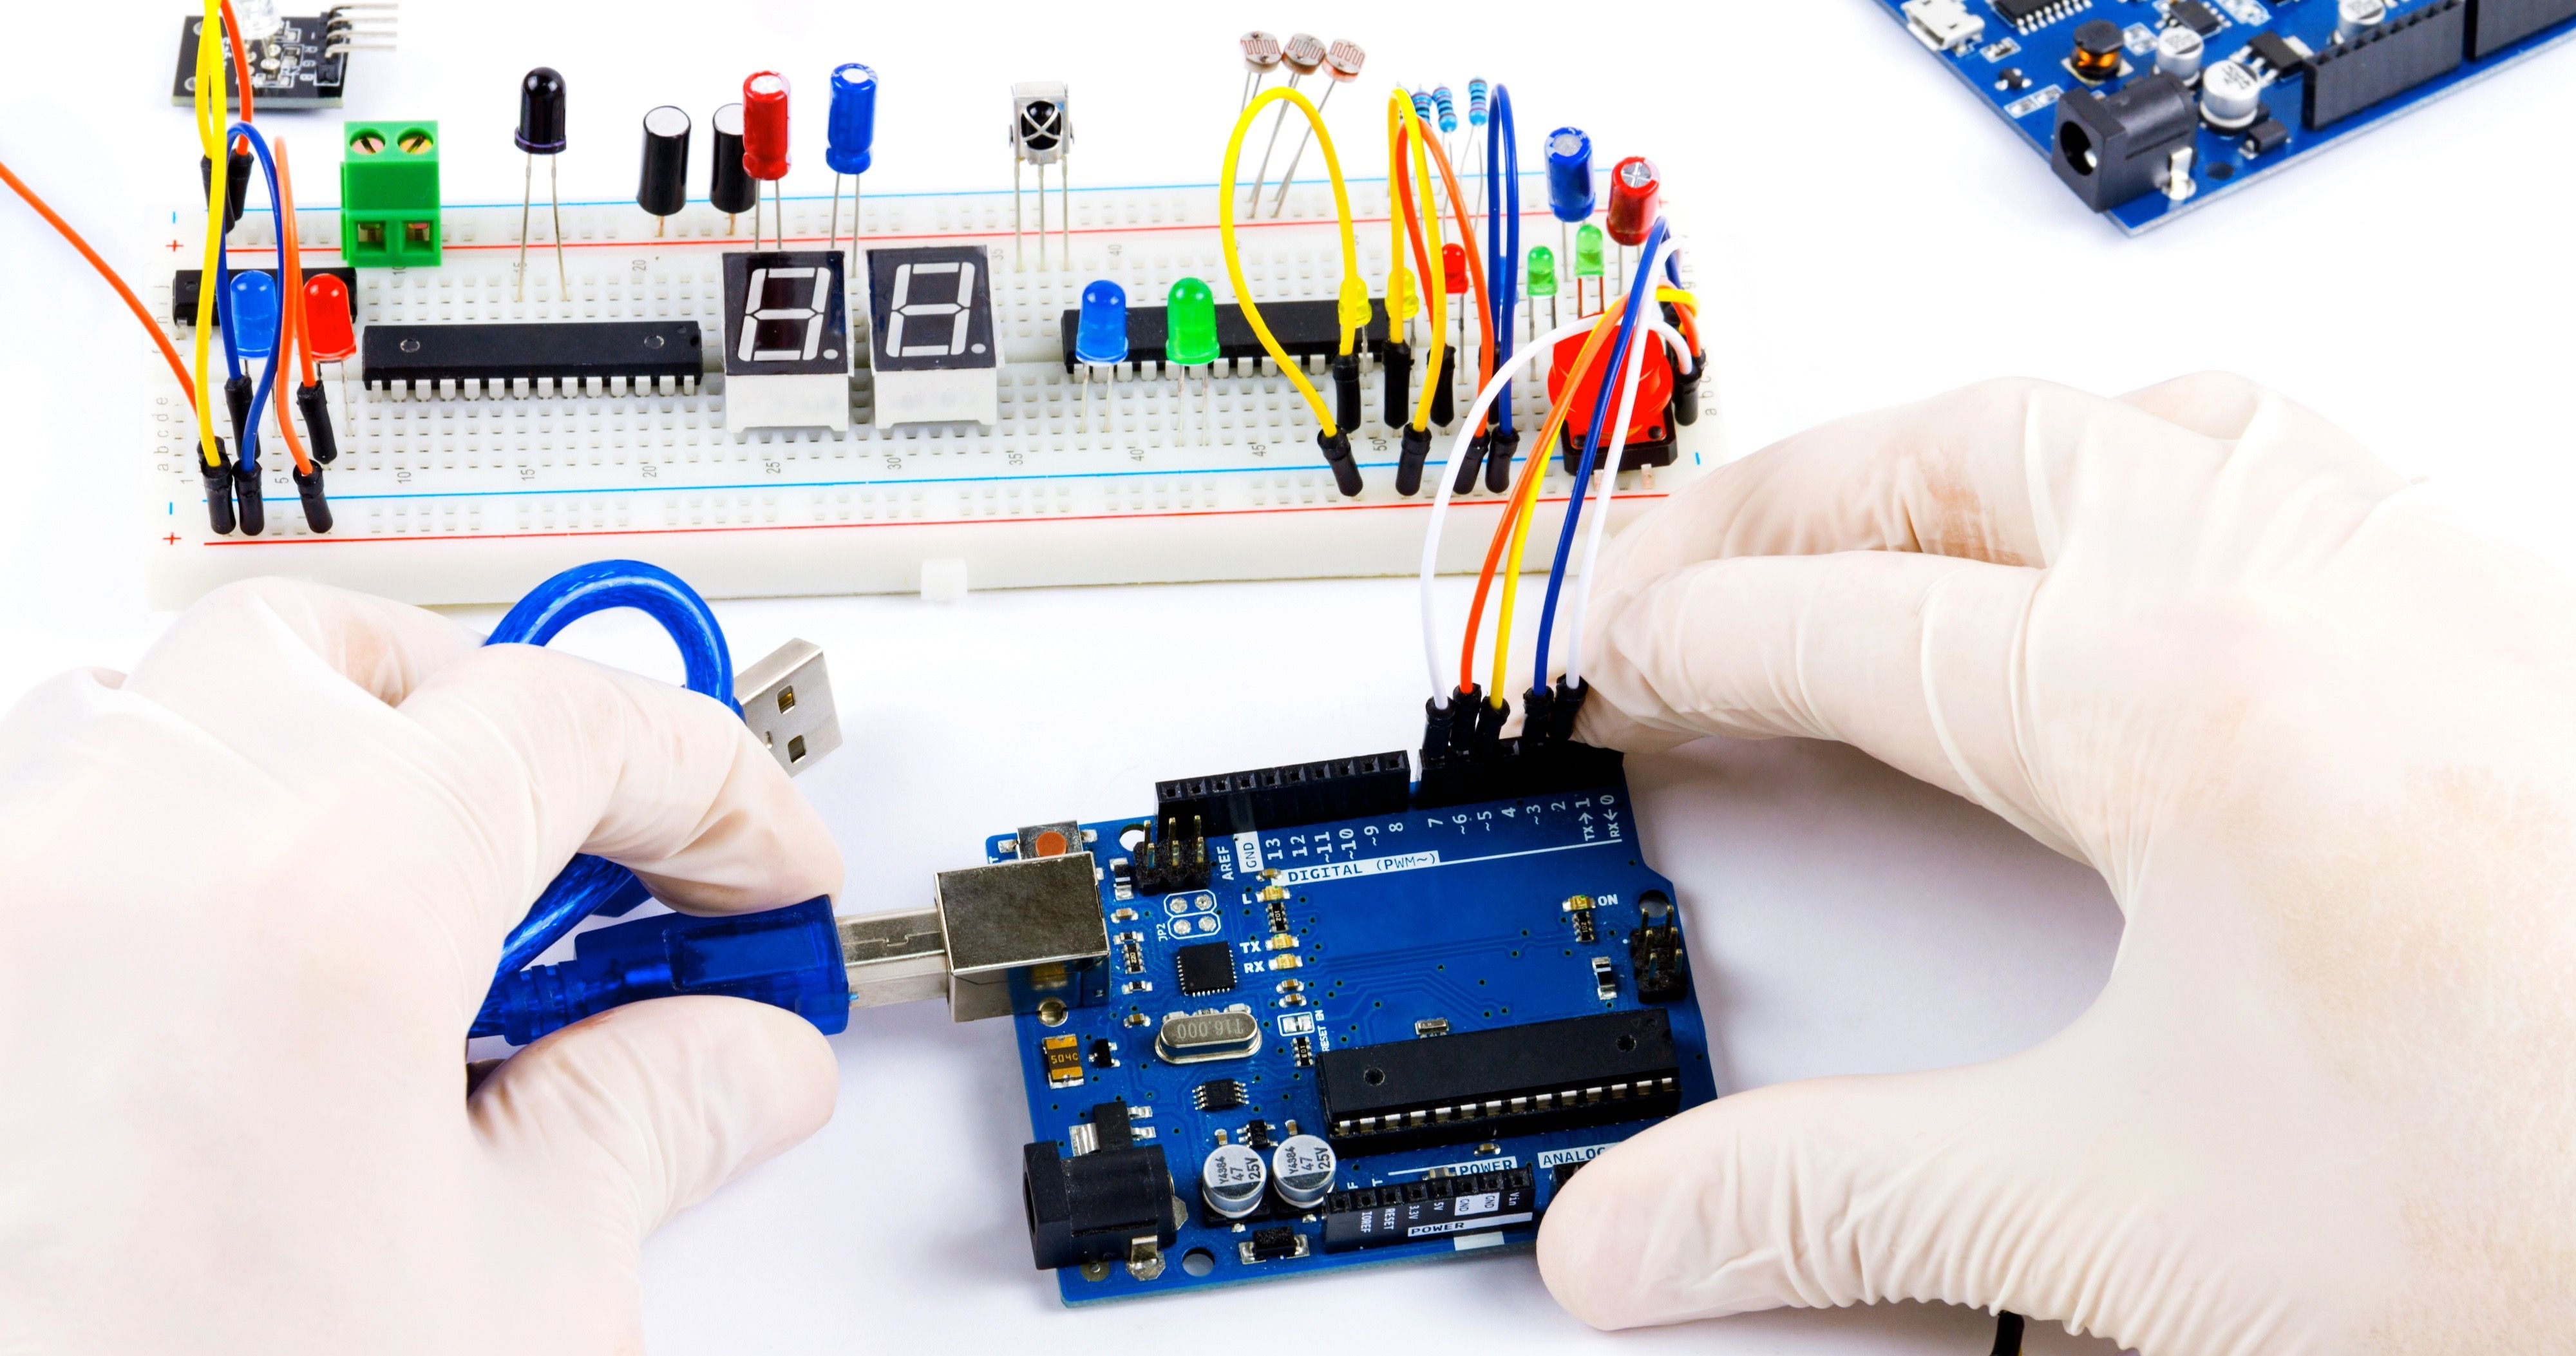
This class will teach how to use Arduino coding to control actuators, such as LCDs, motors and servos.  Students will learn how about actuators, how to hook them up to the Arduino, and how to use Arduino libraries to control them.

NOTE:
This class will meet twice a week for five weeks or once a week for 10 weeks .  Sunday classes meet once a week.

During class, students will first be introduced to the concepts through PowerPoint slides, and then guided through the lesson for how to connect the components and how to write the code.  Students will either use Arduino components that they have at home, or they will use a simulation program, called TinkerCad, to follow along.

IMPORTANT:
Before students take this class, they should have basic knowledge of the Arduino microcontroller, and know the basic format of Arduino coding and be familiar with how to use a breadboard. It is best if they already participated in my first two courses: Arduino Coding Part 1: LEDs, Circuits and Breadboards and Arduino Coding Part 2: Reading and Using Sensors.

IMPORTANT:  If you are using an actual Arduino, you will need to have access to a computer with a USB port, not just a chromebook or tablet because the Arduino IDE does NOT work on those devices.

Please see the Learning Goals below for a list of topics covered in this class.
Learning Goals
Students will learn about different types of actuators and how to wire them.Students will learn how to use a variety of displays, such as the LCD, 8x8 LED array, and 7-segment displays.Syllabus
10 Lessons
over 5 WeeksLesson 1:
What are actuators?
Learn about the different types of actuators, such as digital, analog and pulse. Review how to wire a LED and use a breadboard. 55 mins online live lesson
Lesson 2:
Active vs passive buzzer
Learn how to wire and use an active and passive buzzer and how to write songs using a passive buzzer. 55 mins online live lesson
Lesson 3:
Servos
Learn the difference between positional and continuous servos, how to wire and write code for them 55 mins online live lesson
Lesson 4:
Stepper Motor and Motor Driver
Learn how to wire and use a stepper motor, to turn it clockwise, and counter-clockwise, and how to count the steps. Make a stop watch. 55 mins online live lesson
Other Details
Pre-Requisites
Students should have taken my Parts 1 and 2 classes or know the following: How to use an Arduino to read sensors and turn on LEDs, how to use breadboards, how to add libraries, understand "if," "while", "switch," and "for" commands.
Supply List
Students need to either have an account with www.autocad.com to use the free TinkerCad circuit simulator or download the free Arduino IDE from www.arduino.cc to use with the Arduino components. TinkerCad does NOT have many of the devices we will be using.
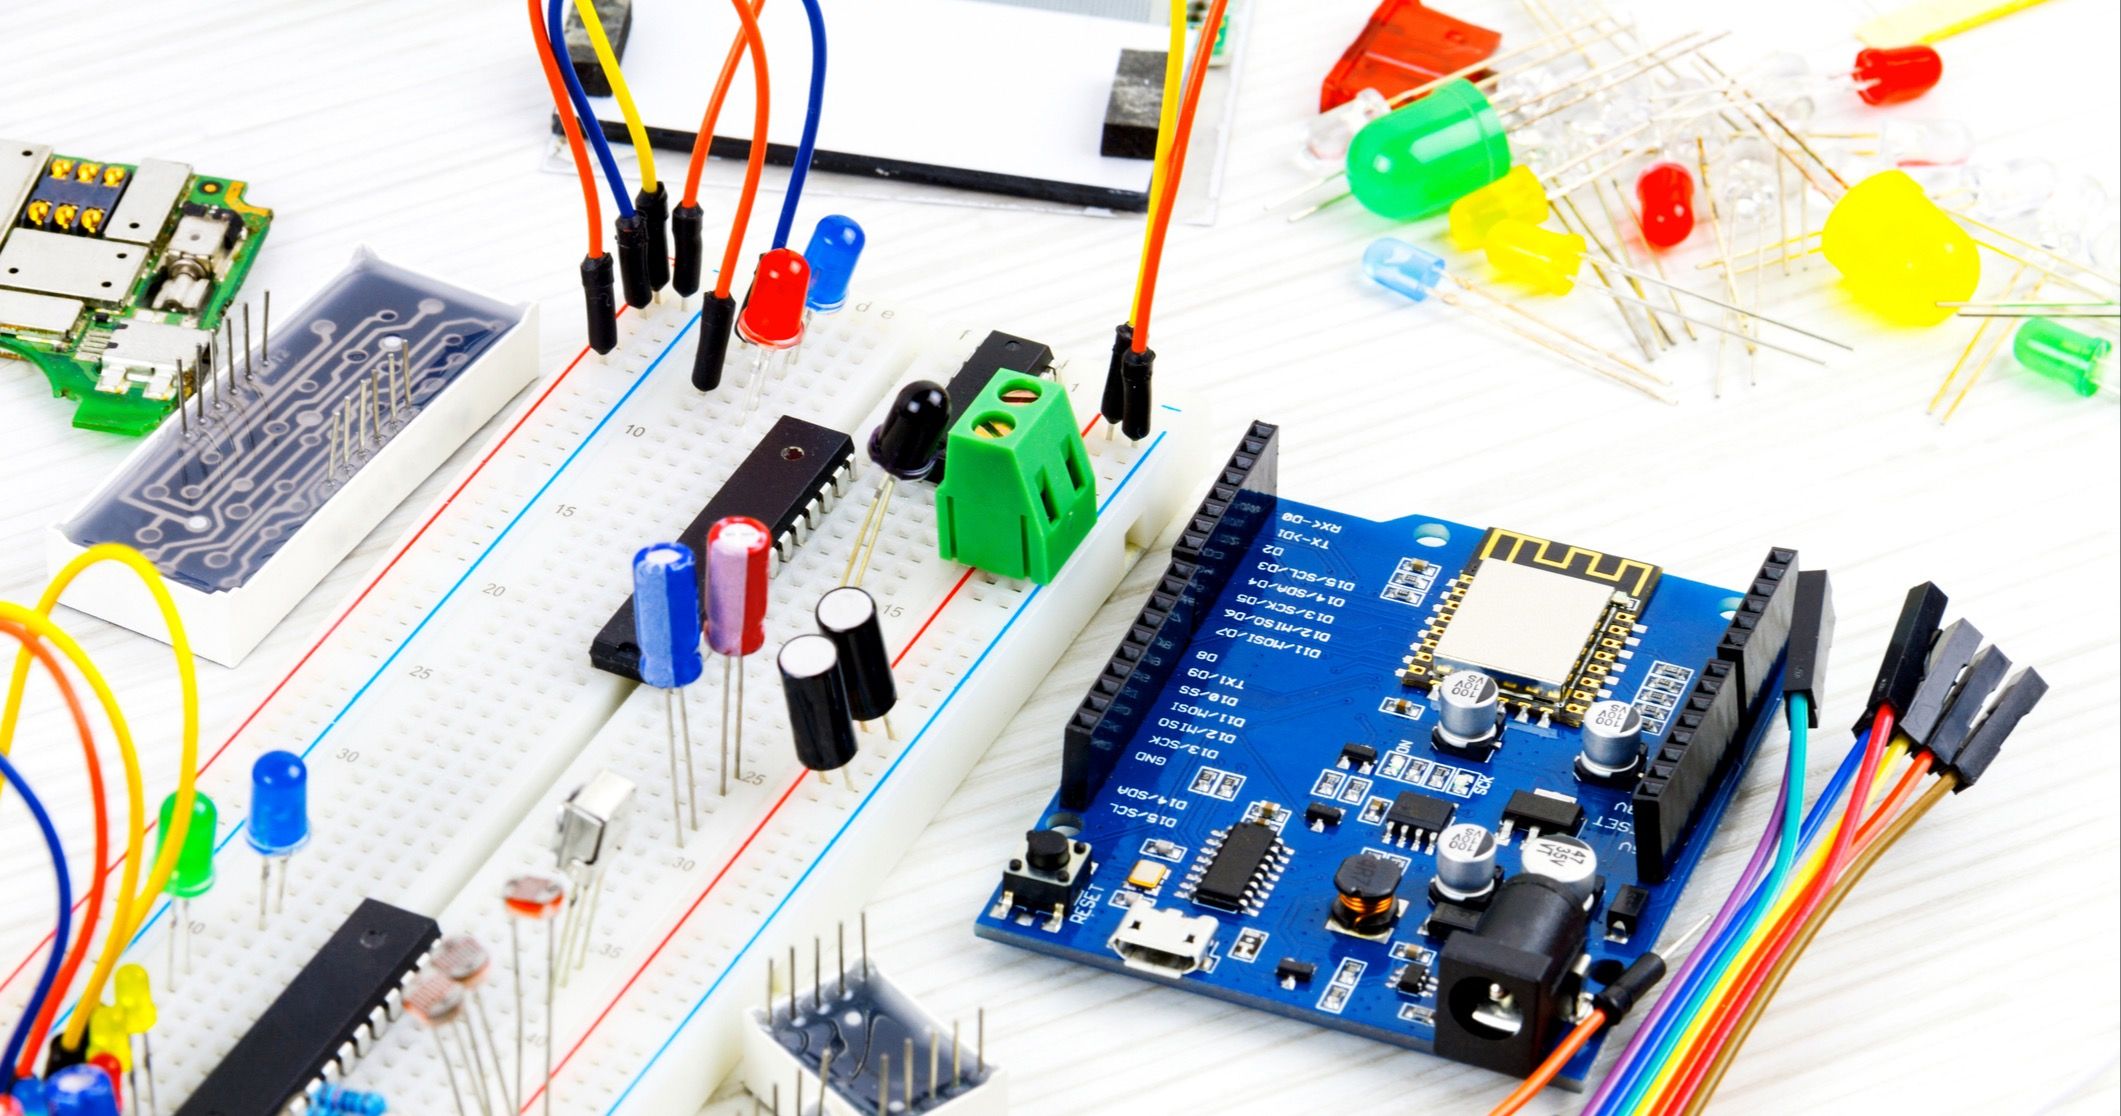
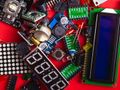
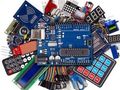
You can buy the components separately, but it would be more expensive than buying a kit that has all the parts you need and more. Either of these kits would be more than sufficient for this class. There are larger kits with more components, but they are not necessary for this class.
Recommended Devices/kits if you are purchasing components separately:
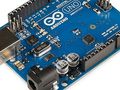
Arduino Uno (or clone) with USB cable
solderless breadboard
3 different color LEDs
3 1000-ohm resistors
3 220-ohm resistors
1-3 pushbuttons
1-3 potentiometers
1 servo motor
1 ultrasonic sensor
1 passive piezo buzzer
1 stepper motor and motor driver
1 DC motor
1 active buzzer
1 passive buzzer
1 LCD, preferably with backpack (https://www.amazon.com/Qunqi-Serial-Backlight-Arduino-MEGA2560/dp/B01E4YUT3K/ref=pd_rhf_se_p_img_2?_encoding=UTF8&psc=1&refRID=82F2F1N5PA4D76EEHV6H)
1 LED array
1 7-segment LED (1 digit)
1 - 4- digit LED
1 micro servo
1 continuous servo (optional)
Many male-male jumper wires of different colors
Many male-female jumper wires of different colors
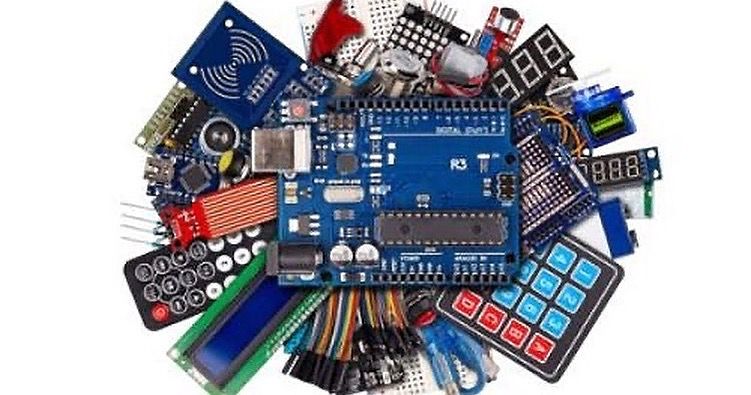
Recommended Kit that contains all the parts:
https://www.amazon.com/EL-KIT-001-Project-Complete-Starter-Tutorial/dp/B01CZTLHGE/ref=asc_df_B01CZTLHGE/?tag=hyprod-20&linkCode=df0&hvadid=241907595991&hvpos=&hvnetw=g&hvrand=8544331822937541734&hvpone=&hvptwo=&hvqmt=&hvdev=c&hvdvcmdl=&hvlocint=&hvlocphy=9015321&hvtargid=pla-464156272733&psc=1
This will make the LCD easier to work with:
https://www.amazon.com/Qunqi-Serial-Backlight-Arduino-MEGA2560/dp/B01E4YUT3K/ref=pd_rhf_se_p_img_2?_encoding=UTF8&psc=1&refRID=82F2F1N5PA4D76EEHV6H
Individual parts if you don't have the large kit:
Here are some items that you will need for this class:
8x8 LED matrix: https://www.amazon.com/Organizer-MAX7219-Display-Single-Chip-Control/dp/B07VM6HXN5/ref=sr_1_3?crid=YQ12DPYJV6VV&dchild=1&keywords=8x8+led+matrix+arduino&qid=1632697197&sprefix=8x8+arduino+mat%2Caps%2C199&sr=8-3
7 segment display: https://www.amazon.com/microtivity-7-segment-Display-Common-Cathode/dp/B004S95VJE/ref=sr_1_9?dchild=1&keywords=arduino+7+1+digit+segment+display&qid=1632697304&sr=8-9
4 digit display https://www.amazon.com/HiLetgo-Digital-Segment-Display-Arduino/dp/B01DKISMXK/ref=sr_1_2_sspa?crid=3IUD9L2USXBRF&dchild=1&keywords=arduino+7+segment+display&qid=1632697250&sprefix=arduino+7+seg%2Caps%2C200&sr=8-2-spons&psc=1&spLa=ZW5jcnlwdGVkUXVhbGlmaWVyPUEyVDkxVFdGWVQwMk8xJmVuY3J5cHRlZElkPUEwMzc5MjkwN09GREFLQVJYWldZJmVuY3J5cHRlZEFkSWQ9QTA1NTY1MTcyNklTTjZOV0o5MzZEJndpZGdldE5hbWU9c3BfYXRmJmFjdGlvbj1jbGlja1JlZGlyZWN0JmRvTm90TG9nQ2xpY2s9dHJ1ZQ==
Optional but fun: Neopixels: https://www.amazon.com/Adafruit-NeoPixel-Ring-Integrated-Drivers/dp/B00KBXT9I0/ref=sr_1_2?dchild=1&keywords=neopixel+ring+adafruit&qid=1632697401&sr=8-2
https://www.amazon.com/Adafruit-NeoPixel-Ring-Integrated-Drivers/dp/B00KBXT9I0/ref=sr_1_2?dchild=1&keywords=neopixel+ring+adafruit&qid=1632697401&sr=8-2Sources
tinkercad.com
arduino.cc
Meet the teacher

Teacher expertise and credentials
Ohio Teaching Certificate in Secondary Education
2 Degrees
Master’s Degree in Science from Case Western Reserve University
Bachelor’s Degree in Science from Stern College for Women Yeshiva University
My classes will teach you coding skills needed to program an Arduino microcontroller. In these classes you will learn about the Arduino and how to write code that allows it to read input from sensors and send output to actuators.  You will be guided through the wiring and coding for each type of sensor and actuator so that you will eventually be able to create your own inventions.

I have been a private school middle and high school science teacher for over 30 years. During that time, I taught classes in chemistry, engineering, earth science, life science, chemistry, forensic science, biology, and health.  I enjoy teaching through hands-on experimentation and I believe that students learn best when they are activity engaged in the learning process.

I am an amateur photographer and love to photograph my grandchildren, my dog, and wildlife. I enjoy creating scrapbooks from my photos. I also enjoy tinkering with my Arduino and 3D printer to create inventions of my own.Reviews
12 total ratings, 11 with reviews
Review summary for this class
The reviews overwhelmingly praise Ms. Feigenbaum's teaching style and her ability to make learning Arduino coding engaging and easy to understand. Students have reported significant improvements in their coding skills, critical thinking, and troubleshooting abilities. Parents appreciate the hands-on and personalized approach, with lessons tailored to the students' interests and progress. If you're looking for a fun and effective way to introduce your child to coding and STEM, consider enrolling in Ms. Feigenbaum's Arduino coding classes.
This summary was AI-generated from parent reviews
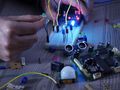
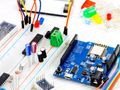
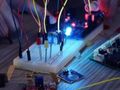
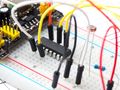
Parent-submitted images


Elene makes learning beginner coding for all three parts of this Arduino...
Christinaon Jun 19, 2022
Elene Feigenbaum suggests this class next...

Arduino Coding Private Session 1:1
$65 per session
Elene Feigenbaum
4.9
(158)
1-on-1 Lessons
On Demand
9-16
Other classes by Elene Feigenbaum


Other classes by Elene Feigenbaum
.png?quality=80&strip=true)
Parents also liked
Arduino Coding Camp
$18 per class
Elene Feigenbaum
4.9
(158)
Group Class
2 wks, 5/wk, 55 min
12-17
Next session at 3 PM on Mon 12/22
BLINK! An Introduction to Programming with Arduino
$18 per class
Ian Nelson
4.7
(2,529)
Group Class
4 wks, 1/wk, 50 min
9-13
Next session at 10 PM on Sat 11/15

Arduino Coding : Build Circuits & Learn Basic Electronics!
$10 per class
Faruk Hasan
4.8
(160)
Group Class
16 wks, 1/wk, 35 min
11-14
Next session at 9:55 PM on Mon 1/5

Beginners Arduino Mastery Coding Course for Robotics & Electronics
$15 per class
Create N Learn: Chess, Roblox, Minecraft, English
4.8
(668)
Group Class
24 wks, 1/wk, 55 min
10-13
Next session at 9 PM on Sunday

Motion Detector Alarm with Arduino!
$19 per class
Mr. Malachi
Group Class
1 wk, 1/wk, 55 min
11-14
Next session at 2 PM on Tuesday

Create WIFI-Controlled Arduino Projects Using the Uno R4 WIFI Microcontroller
$25 per class
Elene Feigenbaum
4.9
(158)
Group Class
2 wks, 1/wk, 55 min
13-18
Next session at 4 PM on Mon 12/22
Arduino Coding Part 3: Motors, Displays, and Other Actuators
$15 per week
Elene Feigenbaum
4.9
(158)
Self-Paced Class
10 weeks
12-17
Arduino Coding Part 2: Reading and Using Sensors
$20 per class
Elene Feigenbaum
4.9
(158)
Group Class
5 wks, 2/wk, 55 min
13-17
Next session at 7 PM on Sun 11/16
Arduino Coding Part 2: Adding a Variety of Sensors to Your Projects
$14 per week
Elene Feigenbaum
4.9
(158)
Self-Paced Class
12 weeks
12-17
Arduino Coding Part 1: LEDs, Servos, Buttons, Buzzers, and More
$20 per class
Elene Feigenbaum
4.9
(158)
Group Class
5 wks, 2/wk, 55 min
10-15
Next session at 4 PM on Tue 11/18
Arduino Coding Part 1 for Projects That Move, Light up and Make Sound
$14 per week
Elene Feigenbaum
4.9
(158)
Self-Paced Class
12 weeks
11-16
Arduino Coding Part 3: Using Electronic Actuators in Engineering Projects
$20 per class
Elene Feigenbaum
4.9
(158)
Group Class
5 wks, 2/wk, 55 min
13-17
Next session at 7 PM on Thu 11/20

1:1 Tutoring: Coding, Arduino, Games, Unity, Python, Javascript, C++, C#
$60 per session
Alex Fish
5.0
(13)
1-on-1 Lessons
On Demand
7-18

Arduino Robotics With Tinkercad Level 2: Coding and Robotics
$15 per class
Create N Learn: Chess, Roblox, Minecraft, English
4.8
(668)
Group Class
8 wks, 1/wk, 55 min
8-13
Next session at 9 PM on Sunday

Robotics & Arduino Club: Build New Tinkercad Projects Every Week!
$10 per class
Create N Learn: Chess, Roblox, Minecraft, English
4.8
(668)
Group Class
1/wk, 55 min
11-14
Next session at 5:30 PM tomorrow
.png?fit=crop&height=90&width=120&quality=80&strip=true)
Weekly Tech Explorers Club: Code New Projects With Python, AI and Arduino!
$15 per class
Create N Learn: Chess, Roblox, Minecraft, English
4.8
(668)
Group Class
1/wk, 55 min
8-12
Next session at 3 PM tomorrow
Are you planning to use state funding, such as an Education Savings Account (ESA), Micro-grant or scholarship to help pay for your learner’s education?