First Month Free — use code BTS40. Offer valid for 80 credits plan.Learn More
288

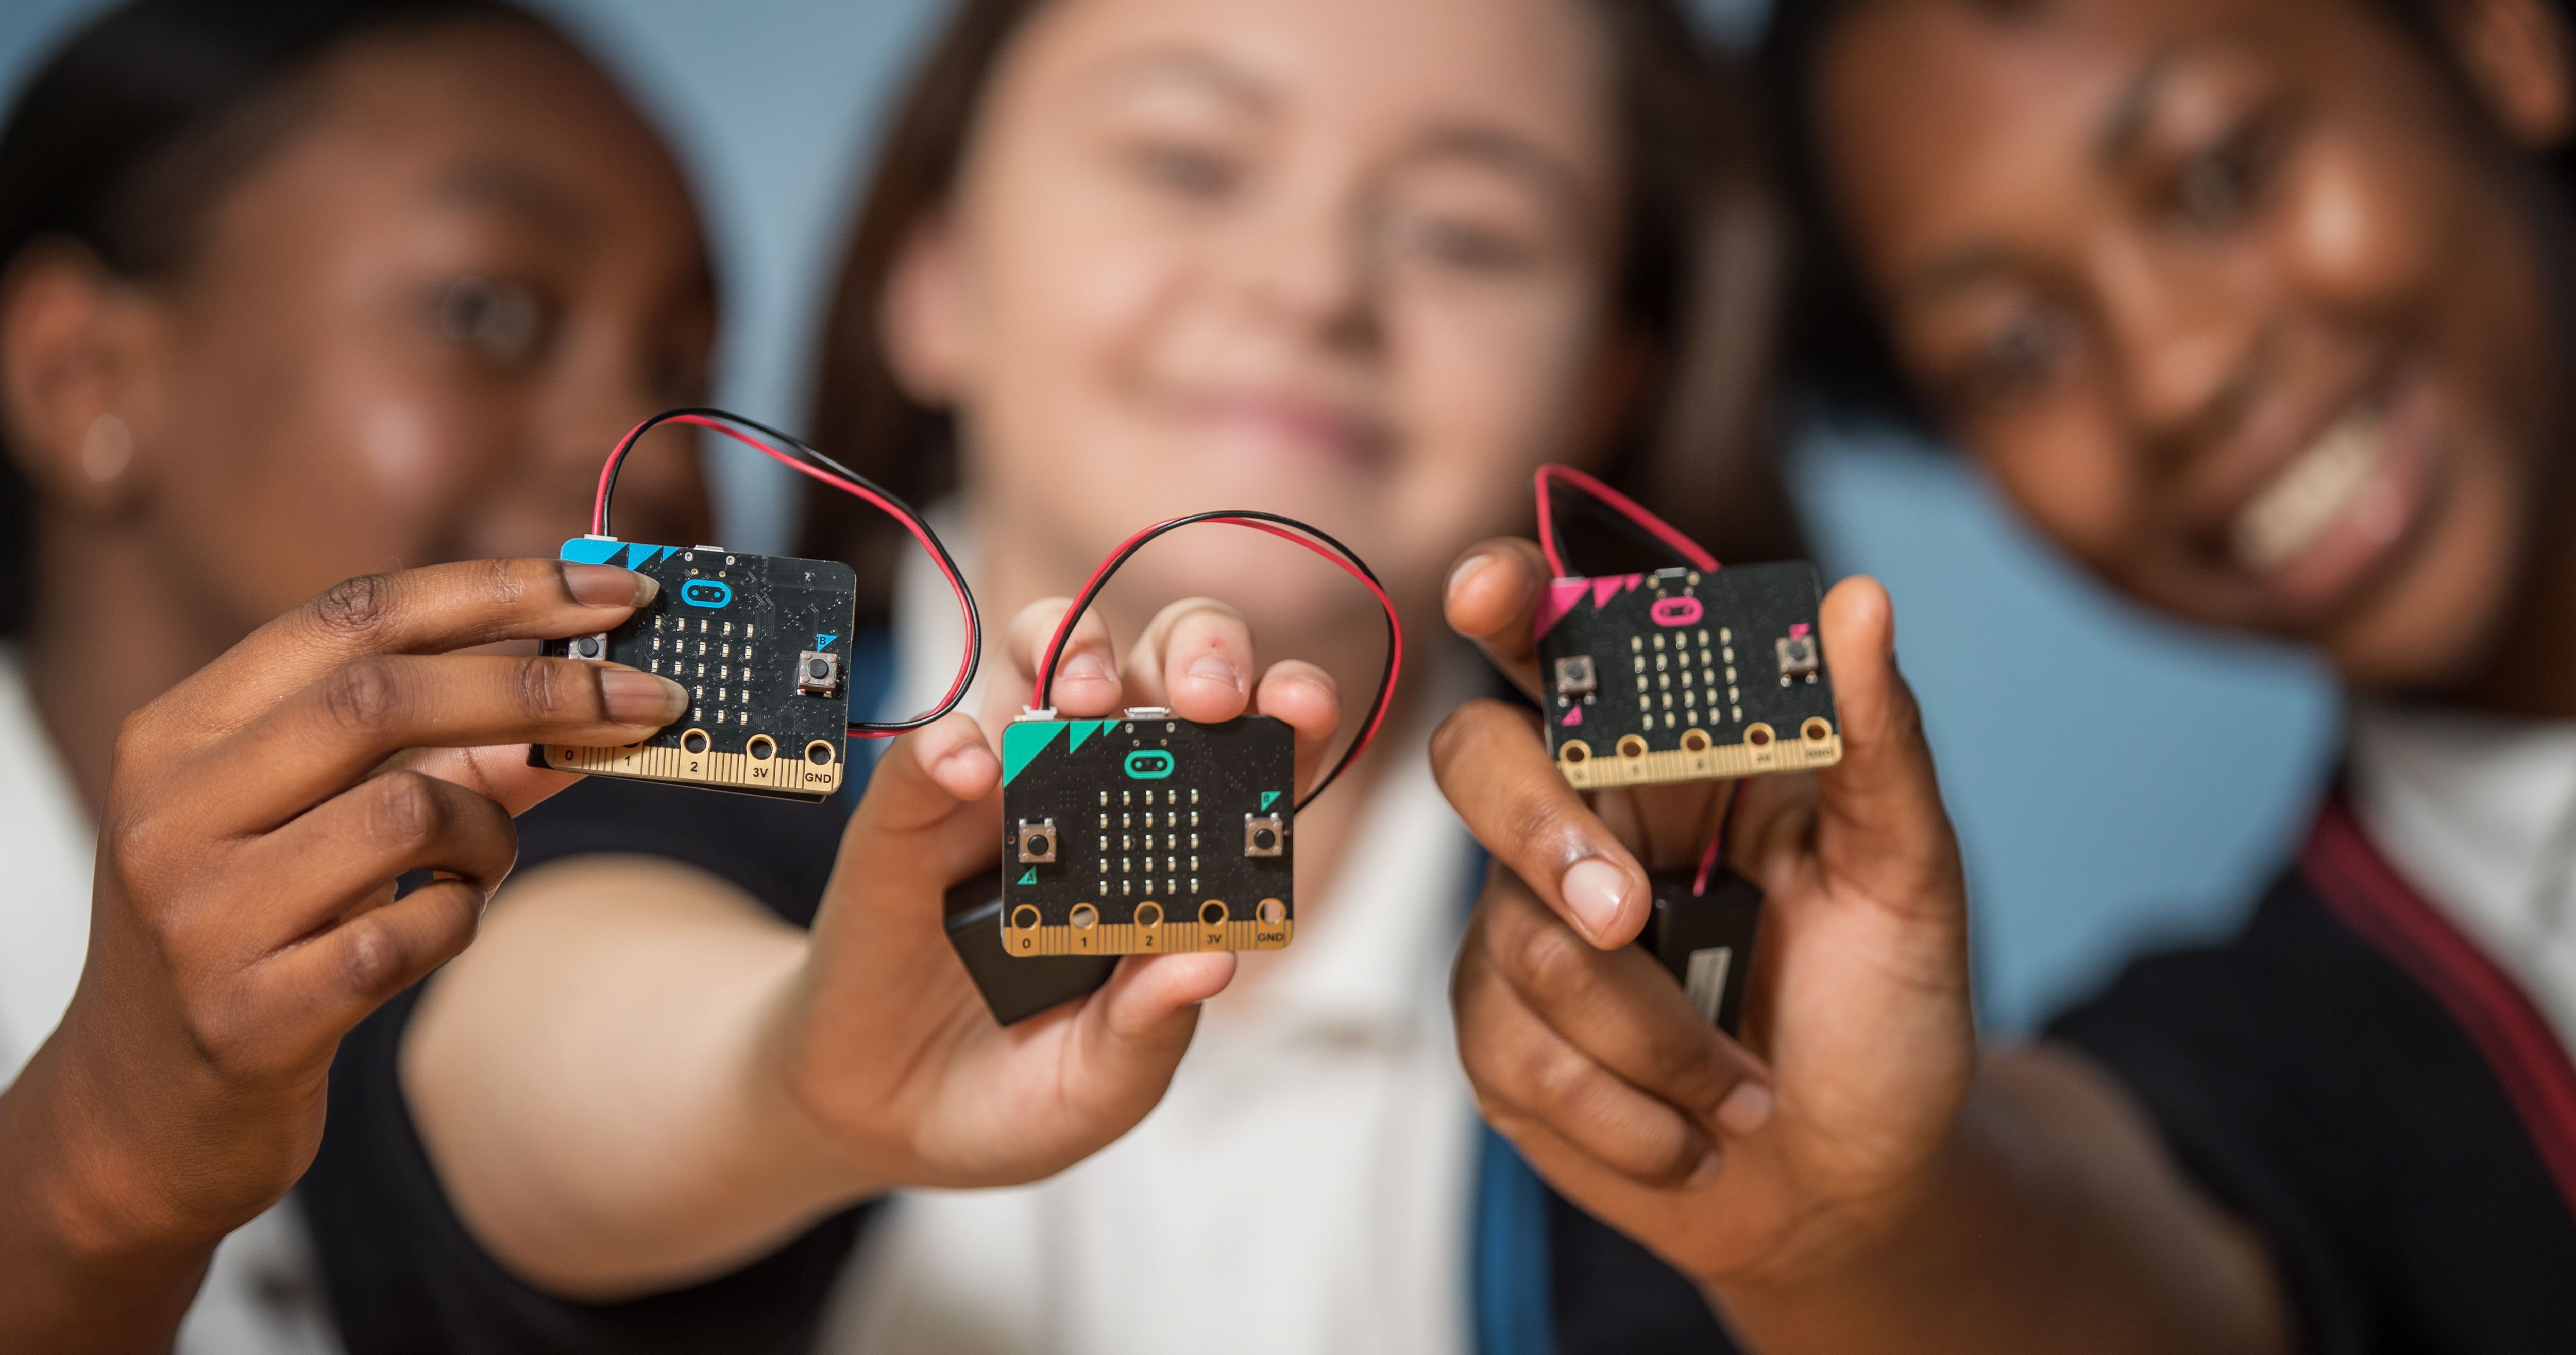
Robótica con Micro:Bit - Nivel 2 - Introducción al kit de robot con sensor Yahboom
Completed by 83 learners
Ages 8-13
Live Group Class
.png?height=124&width=124&quality=80&strip=true)
Average rating:
4.9
Number of reviews:(489 reviews)
Star Educator
Live video meetings
1x per week, 6 weeks
1-6 learners per class
55 min
What’s included

6 live meetings
5 hrs 30 mins in-class hoursAssessment
At the end of the class, I will give the parent feedback as to how the learner did in class, suggest additional projects, and give guidance on possible next classes.Class Experience
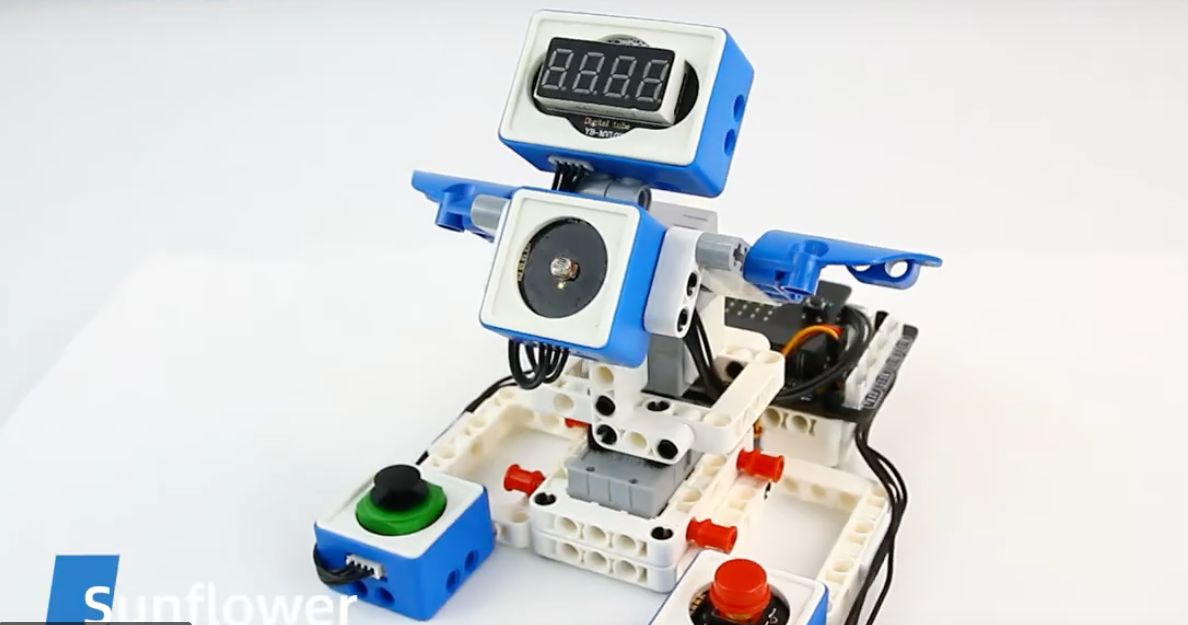
This class is part 2 of a series. Part 1 is a prerequisite. No exceptions. You need to purchase a specific robot kit described below.

Now that you know how to use a micro:bit, let's add a robot kit and start building cool things!

In my opinion, the Yahboom WOM robot kit is the best I have encountered. And I have looked at lots of kits over the past 5 years. Other kits have had limited sensors, limited connectors, and hard-to-use components and building materials. And often they are expensive and/or can do only a few things.

One thing this kit CAN'T do that many others can is drive around. I love it! Driving is over-rated. It is easy to make a robot move, and maybe turn if it detects a wall or a line. But turn precisely, or go forward a certain distance - I've never seen it in a kid-friendly robot. It's honestly really hard to do. And most driving robots can't do much else.

Yahboom WOM kit focuses on inputs and outputs. We want to build robots that interact with our world. This kit senses light, heat, movement, color, and distance. It also has a couple of buttons and a 4 digit display and a multi-color light. Combine this with the micro:bit's inputs and outputs, and we can make many cool things. Plus it comes with lego-type connectors, gears, and other pieces (plus what house doesn't have even more legos!)

In this class we will learn about each sensor:
 - how/where to connect
 - what does it actually sense
 - what kind of data does it send
 - what programming blocks work with it
 - how can we use the sensor data?
 - and finally - what kind of projects can we build with it

In each class, we will learn to use 2-3 sensors, and build a mini robotic project showcasing the sensors. For the last 2 classes, we will come up with a bigger project that uses multiple sensors and outputs that each learner can customize. Bedroom security is usually a favorite topic (was anyone in my room? did someone open this drawer?). But we can let our imaginations run wild!

Week 1: Introduction to the robotics kit. Using the 4 digit display and the button. Measuring time.
Week 2: LED lights and the light sensors
Week 3: Distance measuring sensors
Week 4: Infrared sensor, rocker switch and temp/humidity sensor
Week 5: Servos (motors)
Week 6: Design, build and program a complex robot using multiple sensors and displays and servos.
Learning Goals
How to connect and program robotic parts connected to micro:bit.
How to use sensors.
How to read and understand the data from sensors.
How to create a program that uses sensor data.
How to use displays, lights, and sound to communicate with humans.
How to use servos.
Other Details
Parental Guidance
Your learner may need some help with using connectors depending on finger strength and dexterity.
Pre-Requisites
Robotics with Micro:bit Level 1
Supply List
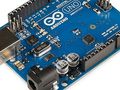
YOU MUST BUY A ROBOT KIT!!!!
Yahboom World of Module Programmable Sensor Kit for Micro:bit V2 board
https://category.yahboom.net/collections/mb-robotics/products/wom-sensor-kit-microbit
It is sometimes also available through Amazon or Alibaba
External Resources
In addition to the Outschool classroom, this class uses:
Sources
YOU MUST BUY A ROBOT KIT!!!!
Yahboom World of Module Programmable Sensor Kit for Micro:bit V2 board
https://category.yahboom.net/collections/mb-robotics/products/wom-sensor-kit-microbit
It is sometimes also available through Amazon https://www.amazon.com/Yahboom-Programmabl-Education-Building-Microbit/dp/B0B8N12KBT/ref=sr_1_1
Meet the teacher

Teacher expertise and credentials
Bachelor’s Degree in Electrical Engineering from Stanford University
I have been teaching coding with the micro:bit and robotics for over 8 years.Reviews
24 total ratings, 16 with reviews
Review summary for this class
The reviews overwhelmingly highlight the engaging and dynamic teaching style of the instructor, Kari. Students enjoyed her classes and looked forward to them each week, sparking their interest and inspiring them in coding and robotics. Kari's patience and dedication ensured that no student was left behind, and she helped them understand and apply the concepts effectively. If you want to ignite your child's passion for technology and coding while providing them with a fun and enriching learning experience, this class is highly recommended.
This summary was AI-generated from parent reviews
My son took the level 1 and 2 Micro:Bit classes back to back and really...
Lynette H.on Dec 27, 2024
Just like in level 1, Kari was engaging and dynamic as an instructor. My...
Michelle M.on May 24, 2024
Other classes by Kari Santos - coding Scratch and Robotics


Other classes by Kari Santos - coding Scratch and Robotics
Parents also liked
1:1 Introduction to Coding - Scratch Gaming
Gaurika Gupta
$200 per session
1-on-1 Lessons
On Demand
8-12
%20(600%20x%20288%20px).png?fit=crop&height=90&width=120&quality=80&strip=true)
Introduction to Coding - Scratch for Beginners (Level 1 Of 3)
Crazy Kids - Coding, Art, Fitness, and More!
4.8
(2,703)
$21 per class
Next session at 7:45 PM today
Group Class
1/wk, 1 hr
6-11
Scratch 3.0 - Private 1 on 1 - Introduction to Coding for Beginners
E Square ⭐ Chess ⭐ Coding ⭐ Math #1 in +ve Reviews
4.8
(6,052)
$39 per session
1-on-1 Lessons
On Demand
6-12

Python Step by Step: The Complete Blueprint | Introduction to Programing
Teacher Pearls, STEM Instructor
4.6
(9)
$75 per week
Self-Paced Class
4 weeks
10-18
BLINK! An Introduction to Programming with Arduino
Ian Nelson
4.7
(2,525)
$18 per class
Group Class
4 wks, 1/wk, 50 min
9-13
[One on One] Private Tutoring JAVA Coding - Introduction to Programming in JAVA
Ziad Ghazi
4.6
(10)
$59 per session
1-on-1 Lessons
On Demand
7-18
1:1 Private Tutoring Python Coding - Introduction to Programming in Python
Ziad Ghazi
4.6
(10)
$59 per session
1-on-1 Lessons
On Demand
7-18
Introduction to Python Programming
Rushit Patel
$28 per session
1-on-1 Lessons
On Demand
13-18
.png?fit=crop&height=90&width=120&quality=80&strip=true)
Introduction to AI Superheroes | Programing
JetLearn
4.8
(98)
$50 per class
Group Class
4 wks, 1/wk, 45 min
6-9
Intro to Coding 1:1 Live Coding Lab
Usama Puri
4.4
(23)
$40 per session
1-on-1 Lessons
On Demand
6-18
1:1 Private Tutoring C Coding - Introduction to C-Programming
Ziad Ghazi
4.6
(10)
$59 per session
1-on-1 Lessons
On Demand
7-18
Absolute Beginners Introduction to Python STEM Coding
Michelle Lewis Scratch Coding STEM Educator
5.0
(22)
$50 per session
1-on-1 Lessons
On Demand
9-14
Introduction to Java Programming With Robocode (Week 1)
infinite mind pictures Inc.
4.9
(48)
$20 per week
Self-Paced Class
5 weeks
11-14
.png?fit=crop&height=90&width=120&quality=80&strip=true)
Python: The Wonderful World of Programming
Kylie D'Alessandro
5.0
(3)
$12 per week
Self-Paced Class
8 weeks
9-13
1:1 Private Tutoring C++ Coding - Introduction to C Plus Plus -Programming Cpp
Ziad Ghazi
4.6
(10)
$59 per session
1-on-1 Lessons
On Demand
7-18

Python Coding (Level 3) - Introduction to Algorithms and Game Concepts!
Faruk Hasan
4.8
(157)
$8 per week
Self-Paced Class
10 weeks
13-17
Private Tutoring C# Programming & Introduction to Unity Game Design (W/ C-Sharp)
Ziad Ghazi
4.6
(10)
$59 per session
1-on-1 Lessons
On Demand
7-18

Introduction to Artificial Intelligence
Lovepreet Kaur
5.0
(1)
$10 per class
Next session at 3 PM on Friday
Group Class
1/wk, 45 min
11-14

Introduction to AI Safety
Ms. Self
$10 per week
Self-Paced Class
1 weeks
8-12
Personalized Introduction to Game Design Lessons
Fleming Tech Camps
4.9
(31)
$80 per session
1-on-1 Lessons
On Demand
8-14
Are you planning to use state funding, such as an Education Savings Account (ESA), Micro-grant or scholarship to help pay for your learner’s education?